Table of Contents
Let's Encrypt with Cloudflare DNS and F5 REST API
This howto describes how you setup automating LE certificates using the dns-01 challenge protocol and push them onto a Big-IP via the REST API (iControl).
This version is build on using Cloudflare but could easily be customized to almost any DNS provider with an open API.
All provisioning and deployment of the certificates are done via the API on the Big-IP to make it as location agnostic as possible.
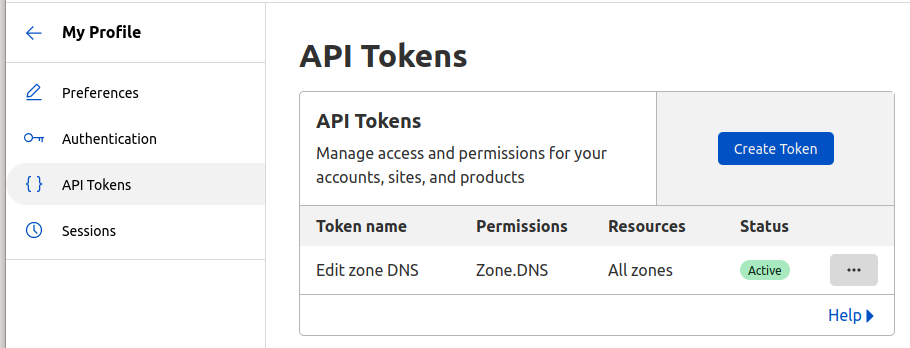
Update 05-08-2022: After some interesting customer cases I implemented the option to use token authentication instead of basic authentication. Token is now default in the hook script. It would seem like that using basic authentication is putting extra stress on the BigIP and it could fail to complete the requests.
You can find some of the errors you might see here, all worked around using tokens:
Bug ID 1035661: REST Requests return 401 Unauthorized when using Basic Auth
Bug ID 1010341: Slower REST calls after update for CVE-2021-22986
If you are using external authentication you must use token based authentication as it is the only one supported:
K15234904: Basic or Token Auth for a successful F5 REST API call?
Requirements
The solution is made in such a way that it should have as few requires of the platform as possible, so it is possible to run on almost any platform.
It has been build and tested on a Ubuntu nix but any platform having bash and curl installed should be able to make use of it.
There are however a few basic requirements for this to work.
- First you would need an Cloudflare API token with permissions to edit all the zones:
- Next you need an admin account on the Big-IP, or equivalent with permissions to install certificates and modify client ssl profiles, and access to the management interface on port 443/tcp. Also, you need access to the Cloudflare API URL (https://api.cloudflare.com) and Let's Encrypt API (https://acme-v02.api.letsencrypt.org) from the machine running the script.
- Finally a bash shell with curl available.
Configuration
Initially you will need to get hold of the awesome script called “dehydrated” by Lukas Schauer:
git clone https://github.com/dehydrated-io/dehydrated.git
The dehydrated script needs these three files to function:
- domain.txt (your domains)
- config (configuration settings for dehydrated)
- hoot.sh (a hook file being called in the different stages of the issuing process)
I have added a fourth script called “upload.sh” which takes care of the uploading of certificate and key files to the Big-IP. The script was initially intended to overcoming some shortcomings with curl when making large file uploads to the Big-IP. To avoid running into issues down the line, if certificate files becomes too large for curl, I played it safe. It could also become handy for ideas in the future. The script is made by Justin Clark (see reference at the F5 webpage https://support.f5.com/csp/article/K41763344)
domain.txt
Basically you need to populate this file with all the domains, and SANs, you need to issue certificates for. Inside the dehydrated docs/example folder you will find examples of different ways you can use it. Remember that with the dns-01 challenge protocol you have access to wildcard certificates should you choose to do that.
config
Inside the file “config” you find options which controls the main dehydrated script. I made the following changes:
- CHALLENGETYPE=“dns-01”
- HOOK=“${BASEDIR}/hook.sh”
- KEY_ALGO=rsa
- CONTACT_EMAIL=someone@example.com
- PREFERRED_CHAIN=“ISRG Root X1”
I had to specify the “PREFERRED_CHAIN” variable due to some Android quirks and the expired “DST Root CA X3” root. For a more detailed explanation look here Let's Encrypt and DNS over TLS Hell on Android
I have to use RSA certificates due to some SNI limitations in the F5 configuration. If you want to run EC certificates the script works just as well.
hook.sh
This script holds all of the API logic for Cloudflare and F5. In the top of the file you find some important variables:
- CF_API_TOKEN
- F5_AUTH
- bigip_mgmt
You need to set these to fit your environment. I recommend that you setup your F5 HA configuration to automatic sync, so when new certificates gets installed they are automatically sync between the units.
Update 05-08-2022: I have changed the “F5_AUTH” parameter a bit to enable support for token based authentication.
You will see that two new variables has emerged, “username” and “pwd”. This is to be able to use the account information in both basic- and token authentication, as token based uses them in the json body, so we need be able to then in different constructs.
The “F5_AUTH” variable is now constructed as a complete “flag value-pair” to be inserted agnosticly in all the curl commands. It required some trixing as curl doesn't like having the flag in the variable. After some googling I found that by creating the variable as an array it all came together. That is why you see the variable used like this: “${F5_AUTH[@]}”
F5
When the hook script deploys the certificates to the Big-IP it will apply an OCSP configuration on to it. This is to make OCSP stapling possible and it gives the certificates a nice green satisfying dot in the overview 
Some day I might make this configuration part of the hook script but for now you will need to install the certificate bundle “R3_LE_2025” (and call it that when you import it or change the name in the hook script). You will find it in the zip file at the bottom of the page. Also, you need to configure an OCSP object with these settings:
ltm profile ocsp-stapling-params /Common/letsencrypt_ocsp_R3 {
    dns-resolver /Common/dns-resolver
    sign-hash sha1
    trusted-responders /Common/R3_LE_2025
If you don't care about OCSP stapling (or the green dots  ) you can just comment out the OCSP section inside the hook.sh file.
Installation
You basically only needs to put all the files in the same folder (dehydrated, config, domains.txt, hook.sh and upload.sh). Apply execution permissions on all the files except “config”.
The first time you run dehydrated you will be asked to accept the terms of service. This is done by running this command:
./dehydrated --register --accept-terms
When you have adjusted the files to fit your needs, all you need is run this:
./dehydrated -c
If all goes well you should end up with a set of certificates and client ssl profiles called “auto_<domain>” on your Big-IP installation.
Note that the script only maintains the certificates and profiles, you still need to assign them to the actual virtual servers to put them into effect.
le-automation-files.zip zip-bundle with only basic authentication available.
le-automation-files-token.zip zip-bundle with both token- and basic authentication available.